Ever since I first saw the examples of neural style transfer back in 2015 or 2016 I wanted to see what Planet Earth would look like in the style of Studio Ghibli. Since I'm a lazy busy person, I've eagerly awaited someone doing this for me. Alas, here we are several years later and no such thing has come to pass. Humankind, you have failed me.
Good news everyone! I decided to take a crack at it myself. And at this point style transfer has become such a standard example that it's easy to find code for exactly what we want. However, while doing this I also realised this is a great visual example of how machine learning works in practice; why it's so heavily dependent on what data you use and what parameters you set, how it's about trial and error and waiting for training to complete, and therefore why it's often about black magic experience and how much resources you have, can buy, and is willing to sacrifice the environment to use.
I will not be going into much detail about the algorithm or the code, as I based this on the excellent tutorial for Pytorch where they explain the algorithm as they go along. Their conceptual overview is nicely complemented by the wikipedia page on neural style transfer.
However, I have provided a "cleaned up" version of their code on GitHub where it's easy for you to replace the filenames with your own images. This can be useful if you just want to test things without having to understand much of the code or going through the tutorial I linked to.
What I will be discussing and showing more than code is the process; how what images you select impact what comes out the other end. The trial and error process of machine learning.
Very brief explanation of style transfer that is likely to annoy people fluent in mathematical details
Let's say we have three images, the style (say, picasso) the input (for example a photo you have) and the output (the resulting combination of your style and input images). Style transfer as presented here involves using pre trained object recognition networks (VGG16 and VGG19) to calculate 'values' for the content and style for the output, style and input images respectively. When I say "content" and "style" here without writing them like this I mean the "conceptual" aspects of our images. Maybe your photo is you in a silly hat. That's the "conceptual content" so to speak. The "style" of the photo is, well, a photo, so it looks like "reality" (whatever that is). Whereas our style image is a painting so regardless of what the painting supposedly depicts, it's a painting and not a photo. Get it? Great![1]
So the algorithm can exploit the fact that object recognition neural networks have many layers and depending on what layer we decide to look at we can extract and manipulate the "content" and "style" separately.
So, say we start out having the output and input images being the same; your photo. We calculate a "distance" between the content of output and input which of course here start out being 0. Let's call that C. We then calculate the distance between the style of output and style, let's call this S. Here's the magic: the algorithm now tries to minimize S while keeping C as low as possible. So the pixels of your photo are slowly being manipulated so that it's still you in a silly hat but it will look more and more like a picasso painting.
Let's get this stylin' goin'
Assuming you have downloaded my code, the main part starts at or around line 230. We load a style image, and define a directory where we have a bunch of input images.
if __name__ == '__main__':

    style_img = image_loader("style/yourstyle.jpg")

    input_dir = Path('./input_images')
Put just one image in the folder the first time, so you know how long one image takes to style. On my crappy old dual core i5 laptop it's around 2 minutes for 128 pixel resolution. Some of the larger resolution images in this post have 456 pixel resolution which took around 35 minutes on the same laptop. With a graphics card that supports CUDA it'll be much faster. To change the resolution used, check around line 22 in the code and set the resolution depending on if you have CUDA available or not:
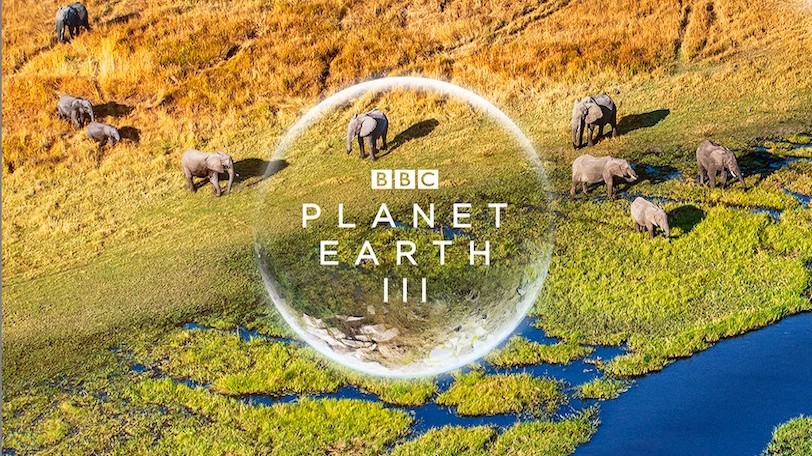
imsize = 720 if torch.cuda.is_available() else 128So, say we have the following image we want to style (i.e. put this image in the input directory defined in the code):
But what style image to use? Here we bump into the first issue. It turns out you can't just use whatever image you want as the style. I mean you can, but it won't look any good. It has to be carefully selected.
I duckduckgo'd for images to use and most are stills of characters. Which makes sense, you know, because there are characters in these films. Anyway. Princess Mononoke is cool, let's use a shot of her for the style. Here's what happens when used to style the above shown :
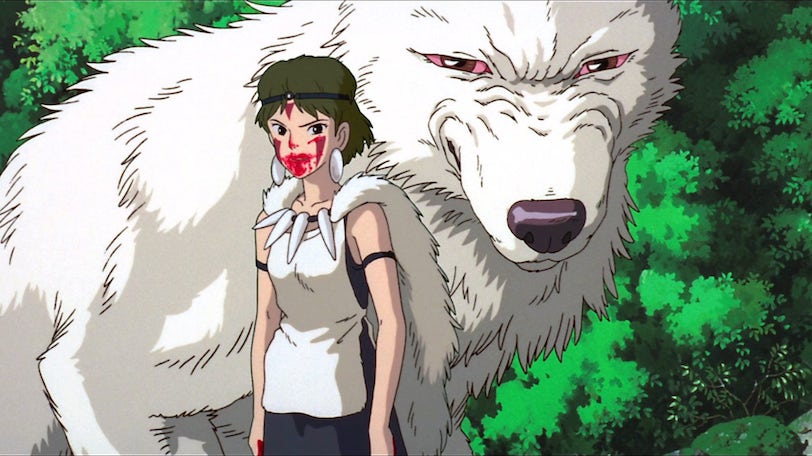
"Style" image to the left, "output" image to the right. Click for larger versions.
Okay, so it's not that this isn't kinda cool. The bottom right looks good, the main features of the content are kept and has been stylised. But the upper left has lost most of its features, i.e. its elephants can't really be seen anymore as they've all been taken up by the whiteness of the wolf from the style image. What seems to happen is some of the content of the image that we use as style is slipping through.
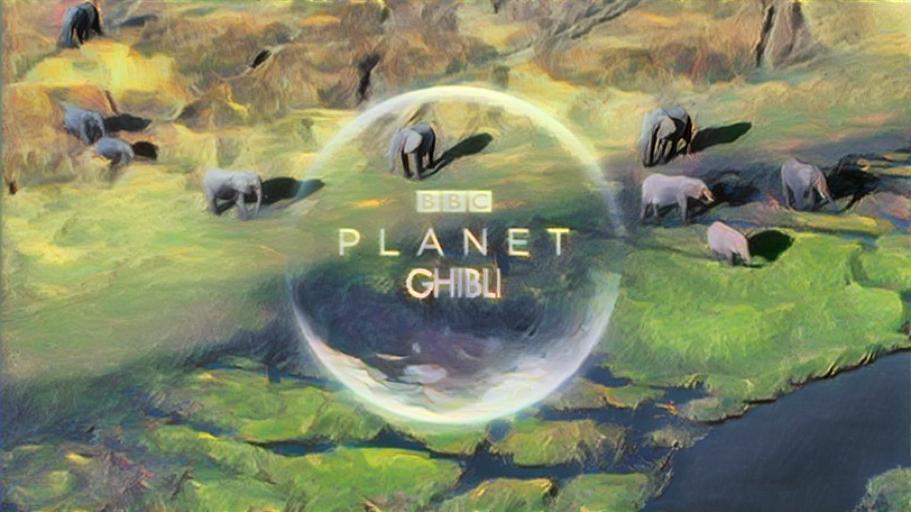
What happens if we instead find a style image that has fewer features of its own, like a landscape image? This turns out to work much better:
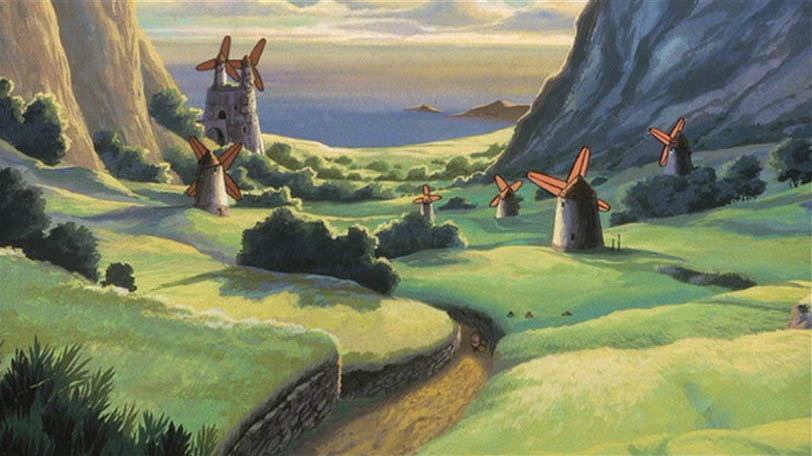
"Style" image to the left, "output" image to the right. Click for larger versions.
Now we get a result where the content is better preserved, we can distinguish each elephant in the upper left of the picture which we couldn't in the previous example. The style image from Nausicaa Valley of the Wind happens to have similar colors, which also helps. But importantly: it's the exact same code! There's a reason the tutorials for style transfer use paintings that are fairly uniform and distinct in style: they produce much nicer results. But the tutorials rarely mention this, from what I've seen, so I bet there are people out there wondering why it doesn't look as nice when they try using their own images. There's nothing wrong with your code, it's just that the algorithm isn't as magical as it may seem! :)
Now that we've found a style image that works we can try on a few more examples to see if it works for them as well.
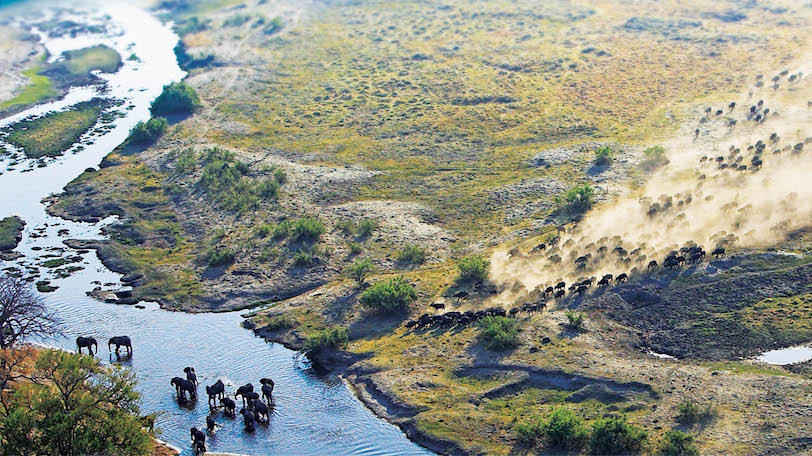
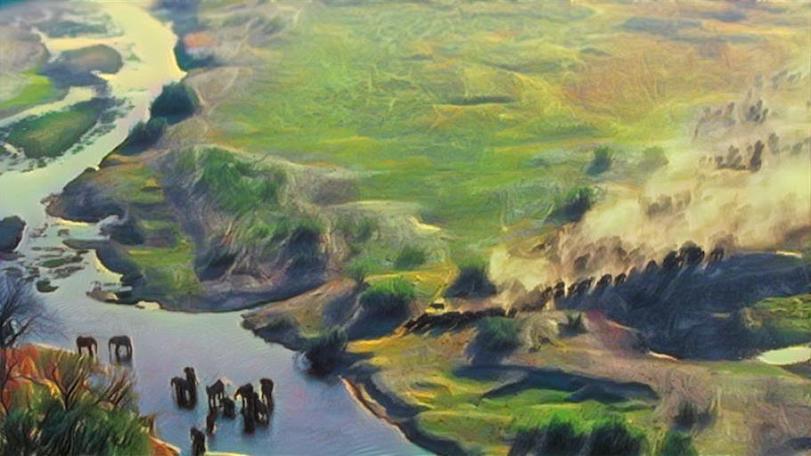
Original image to the left, styled image to the right. Click for larger versions.
Looks pretty cool! Let's do another one:
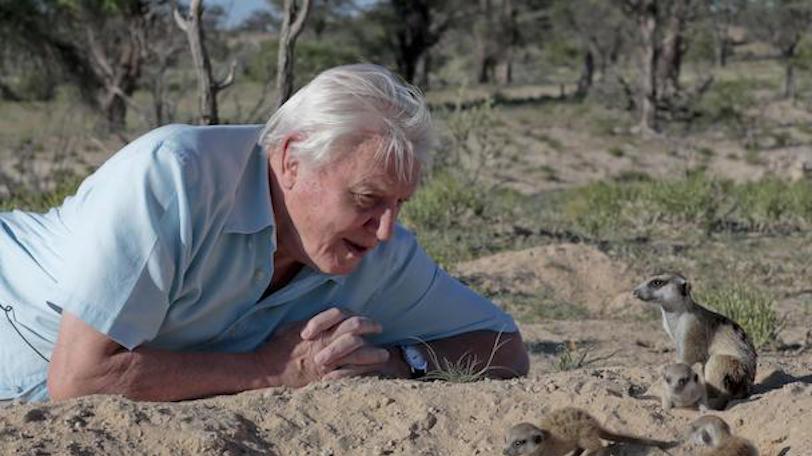
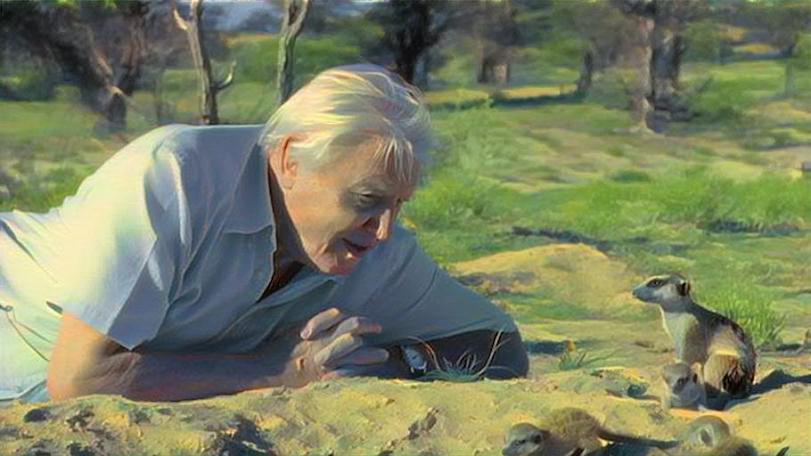
Original image to the left, styled image to the right. Click for larger versions.
Sir David has never looked better!
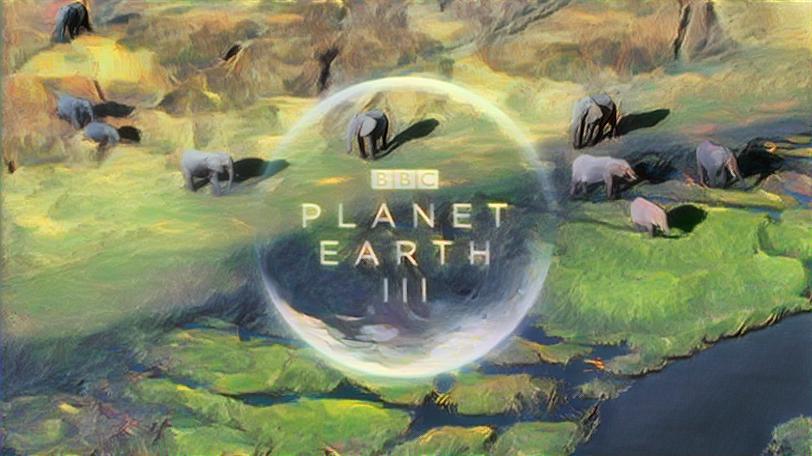
To summarize, we see it's important what data you have and how you use it, the algorithm is only part of the story. I should also mention that sometimes the result is pretty different in 128 pixel resolution compared to higher resolutions. So you have to spend time waiting for styling to happen in order to explore results. Machine learning is thus costly in time, money and energy use, since you have to wait around even if you have bought fancy graphics cards and fast processors. We will see more examples of this in the next part, where we style an entire video; a Planet Earth trailer.
Until then, go forth and style!
Edit: Now available at a server near you: Part 2 and Part 3
Please ignore paintings in realistic style to make this example work ↩︎